Prerequisites for this exercise:
• Apache Solr 1.4.1 ( or some other release)
• Eclipse WTP
• Apache Tomcat 6.x
Steps are:
1. Extract Solr-1.4.1 release into C:\ Drive. For my example, directory is C:\apache-solr-1.4.1
2. Launch Eclipse and create a workspace, say solr-workspace
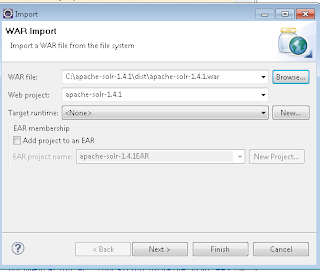
3. Import apache-solr-1.4.1.war file in your workspace by clicking on FIle -> Import,
Select Web --> War as the Import Source.
WAR File: C:\apache-solr-1.4.1\dist\apache-solr-1.4.1.war
Web Project: apache-solr-1.4.1
Click on Finish.
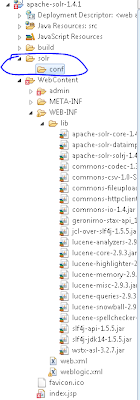
4. Create a folder called solr in the project and create another folder called conf inside solr as shown below:
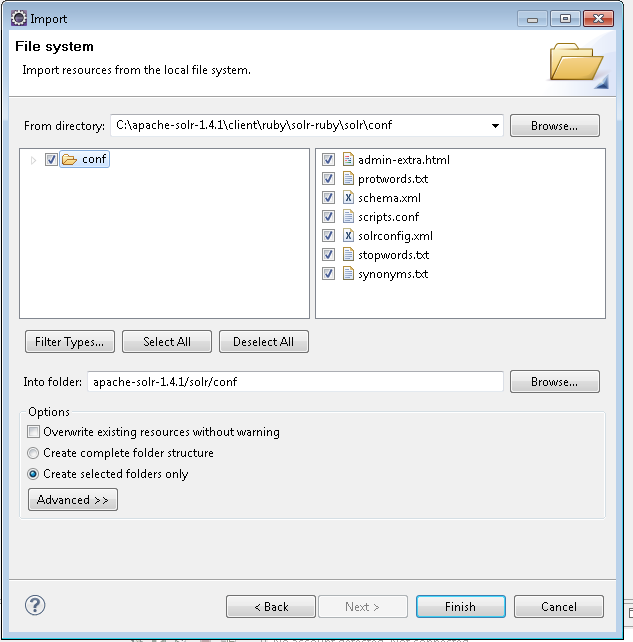
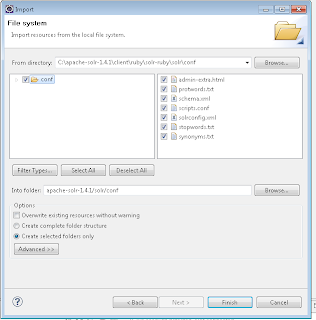
5. Copy files from C:\apache-solr-1.4.1\client\ruby\solr-ruby\solr\conf into /solr/conf folder.
You can define your schema in schema.xml
6. Create a Tomcat Server using server wizard. Defaults would work fine.
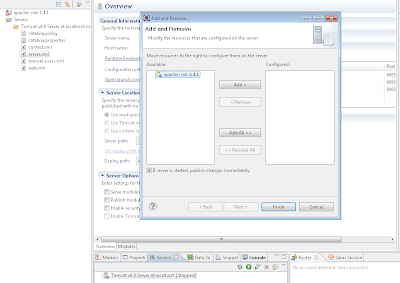
7. Add project apache-solr-1.4.1 to your server as shown below
8. Edit server.xml to let tomcat know where are solr config files are:
<Context docBase="apache-solr-1.4.1" path="/apache-solr-1.4.1"
reloadable="true" source="org.eclipse.jst.j2ee.server:apache-solr-1.4.1">
<Environment name="solr/home" type="java.lang.String"
value="C:\myworkspaces\solr-workspace\apache-solr-1.4.1\solr" override="true"/>
</Context>
9. Start Server and you should see following
INFO: Using JNDI solr.home: C:\myworkspaces\solr-workspace\apache-solr-1.4.1\solr
INFO: Solr home set to 'C:\myworkspaces\solr-workspace\apache-solr-1.4.1\solr\'
Troubleshooting TipsIf your installation is showing errors that solr home is not found then do following
• ensure that server.xml is having right entry
• solr directory exists and has conf as child folder and all the files are there
• clean tomcat-server and clean tomcat work directory